
STUDIO SKILLS
Make the outfit and pose work together.
A layer controls one illustrated piece. A pose controls the character’s joints. Knowing which one to adjust makes small problems much easier to fix.
Find the piece before moving it
Open Layers in Piece settings. The list runs from front to back. Select the name of the piece you want to change, then choose Customize piece. On a phone, open Edit details first. Choosing a wardrobe item also selects its corresponding layer.
If an accessory appears to be missing, check visibility before adding another copy. Show brings back a hidden piece. Then check whether another layer covers it, whether its opacity is very low, or whether its position has moved it outside the visible character.
Fix hair covering an accessory
- Select the accessory in Layers.
- Choose Bring forward to move it higher in the layer order.
- Check the character after each step; the list represents separate illustrated pieces.
- Use Customize piece to adjust the accessory’s position if it still does not sit naturally.
Send backward does the reverse. Layer order is often the right fix when the shape and position already look correct. Duplicating a piece is useful for a deliberate repeated detail, but it can also create an accidental overlap.
Change a pose before fine-tuning the clothing
Open Pose and choose a gesture. Joint controls rotate sections of the character. By contrast, Size, Rotation, Left / right, and Up / down in Customize affect the selected illustrated layer. Start with the pose, then use those layer controls for a small correction.
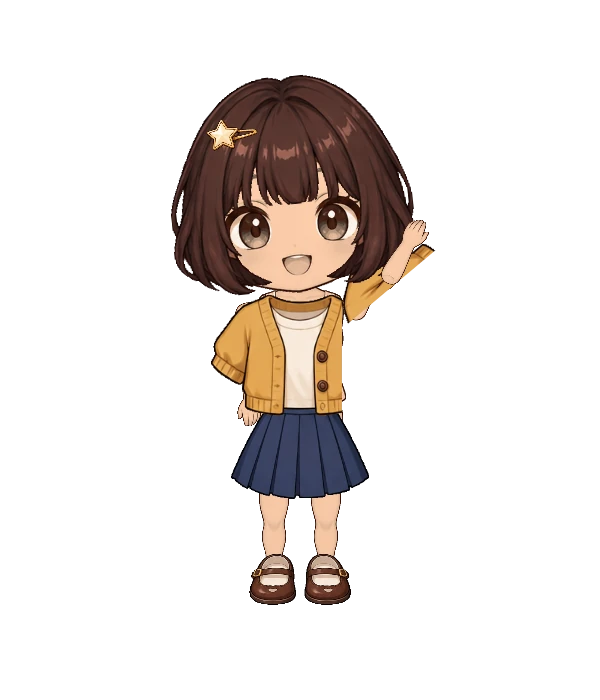
Try this exercise: save a neutral character, choose Hello there, and inspect the raised arm and sleeve. Adjust one joint slightly. If the garment still needs work, select that layer and change its position in small steps. Undo helps you compare the result.
Understand what locking does
Lock piece disables that layer’s position, size, rotation, and opacity controls. It helps prevent accidental placement changes while you work nearby. Unlock piece makes those controls available again. Hiding a piece leaves it in the project so you can show it later.
A scene character also has Lock placement, separate from individual layers. This protects the character’s position in the scene. Fit cast arranges unlocked characters; it does not deliberately move a locked character.
Mirror a piece or adjust a pet
Select a wardrobe piece and choose Mirror piece to flip its illustration. Reset position restores its size, position, rotation, opacity, and original orientation. A locked piece keeps its placement until you unlock it.
Pets have their own Pet settings. Select a pet from the Pets tab or tap it in Scene view. Move behind cast places it behind every character; Move in front of cast brings it forward. Use the visibility control to compare a composition without removing the pet. Undo and Redo also restore pet changes.
Attach a personal image to a joint
Your art accepts PNGs up to 4 MB, with a maximum edge of 4096 pixels and a maximum area of 12 million pixels. Imported images are normalized to a maximum 1600-pixel edge. Transparent artwork works well for props because it does not bring in a rectangular background.
Select the image and choose Move with: Body, Head, Left hand, or Right hand. Then resize and position it near the attachment point. A project supports eight imported images and each character supports 30 layers. Removing the final use of an imported image frees its slot.
When the result is ready, use the PNG download guide to export it without the editor controls.